

Workspaces
A workspace provides a context for organising model development. Select it together with the dataset and configurations when you create a training job.
Use the same workspace for related training runs so that their models share a project context. The workspace identifies where a run belongs; the dataset and configurations determine what the run trains and how it runs.
Before you begin
Sign in to the account where you will train the model. Check Model Lab > Workspaces for an existing workspace for the project. Reuse it when appropriate; a separate workspace is useful for a different modelling project.
Create a workspace
-
Open Model Lab > Workspaces and select Create.
-
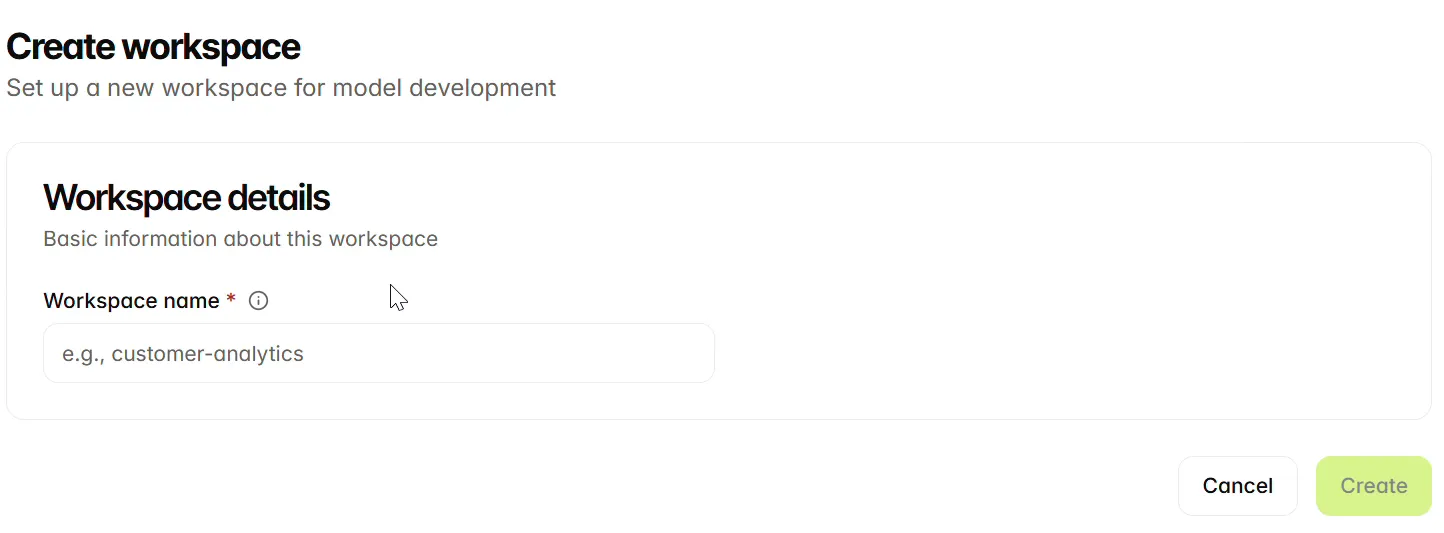
Enter a Workspace name, then select Create.
-
Verify that the workspace appears in the list before using it for model development.
Review a workspace
- Return to Workspaces and use Search workspaces… to find the name. Clear the search to see the full list, or use the pagination controls to move between pages.
- Select the workspace name. In Overview, check the name and ID and review the Audit trail.
- Use Details when you need the complete resource record. Copy the workspace ID when recording which workspace a training run uses.
The list shows Created at and Updated at. Refresh the list if a newly created workspace has not appeared. A matching name helps locate a workspace; use the ID to distinguish records when names are similar.
Use a workspace for training
Select the saved workspace in the Workspace field when creating a training job. After the job completes, check the workspace reference on the output model. Creating a workspace does not create a dataset or start a training job.
Delete a workspace
Select a workspace in the list and use the delete control, or open the workspace and select Delete. Review the selected workspace before confirming. Deletion is permanent and may affect associated models, jobs and configurations; check those dependencies before removing a workspace.
Next steps
Prepare optional Model constraints.